Building Precise 3D Site Models from Drone Photos
Turning a set of drone photos into a working 3D site model is a process that blends photography, flight planning, and processing software. The result is a spatial record you can measure, share, and revisit. While the workflow is well established, each step has its own pitfalls. This article walks through the practical steps and what to watch at every stage.
Plan the Flight for Model Quality
A good 3D model starts before the drone lifts off. The goal is to capture overlapping images from multiple angles so the software can triangulate positions. Standard practice is to set the drone to fly a grid pattern at a consistent altitude, with the camera pointing straight down. For most sites, a front overlap of 70-80 percent and a side overlap of 60-70 percent gives enough redundant data to reconstruct the surface. If the site has tall structures, you may also need oblique images taken at an angle.
What to watch: low sun angle creates long shadows that confuse the software, especially around buildings and trees. Aim for a flight window when the sun is high and the sky is evenly bright. Also check that the drone's GPS is locked before starting. A mid-flight position drift can throw off the entire alignment.
Choose Your Camera Settings
Most consumer and prosumer drones have a fixed lens and a small sensor, but you can still control shutter speed, aperture, and ISO. The critical setting is shutter speed. Drone vibration and movement mean you need a fast enough shutter to freeze motion. A general rule is to keep shutter speed at 1/500 second or faster. Aperture matters less because the small sensor gives deep depth of field anyway. Keep ISO as low as possible to avoid noise, which degrades the model's texture.
What to watch: auto modes often pick a slower shutter speed to keep ISO low, which can blur images. Switch to manual or shutter-priority mode. Also, turn off the drone's auto white balance. A fixed white balance ensures the colour stays consistent across all images, which helps the processing software match features.
Capture the Images
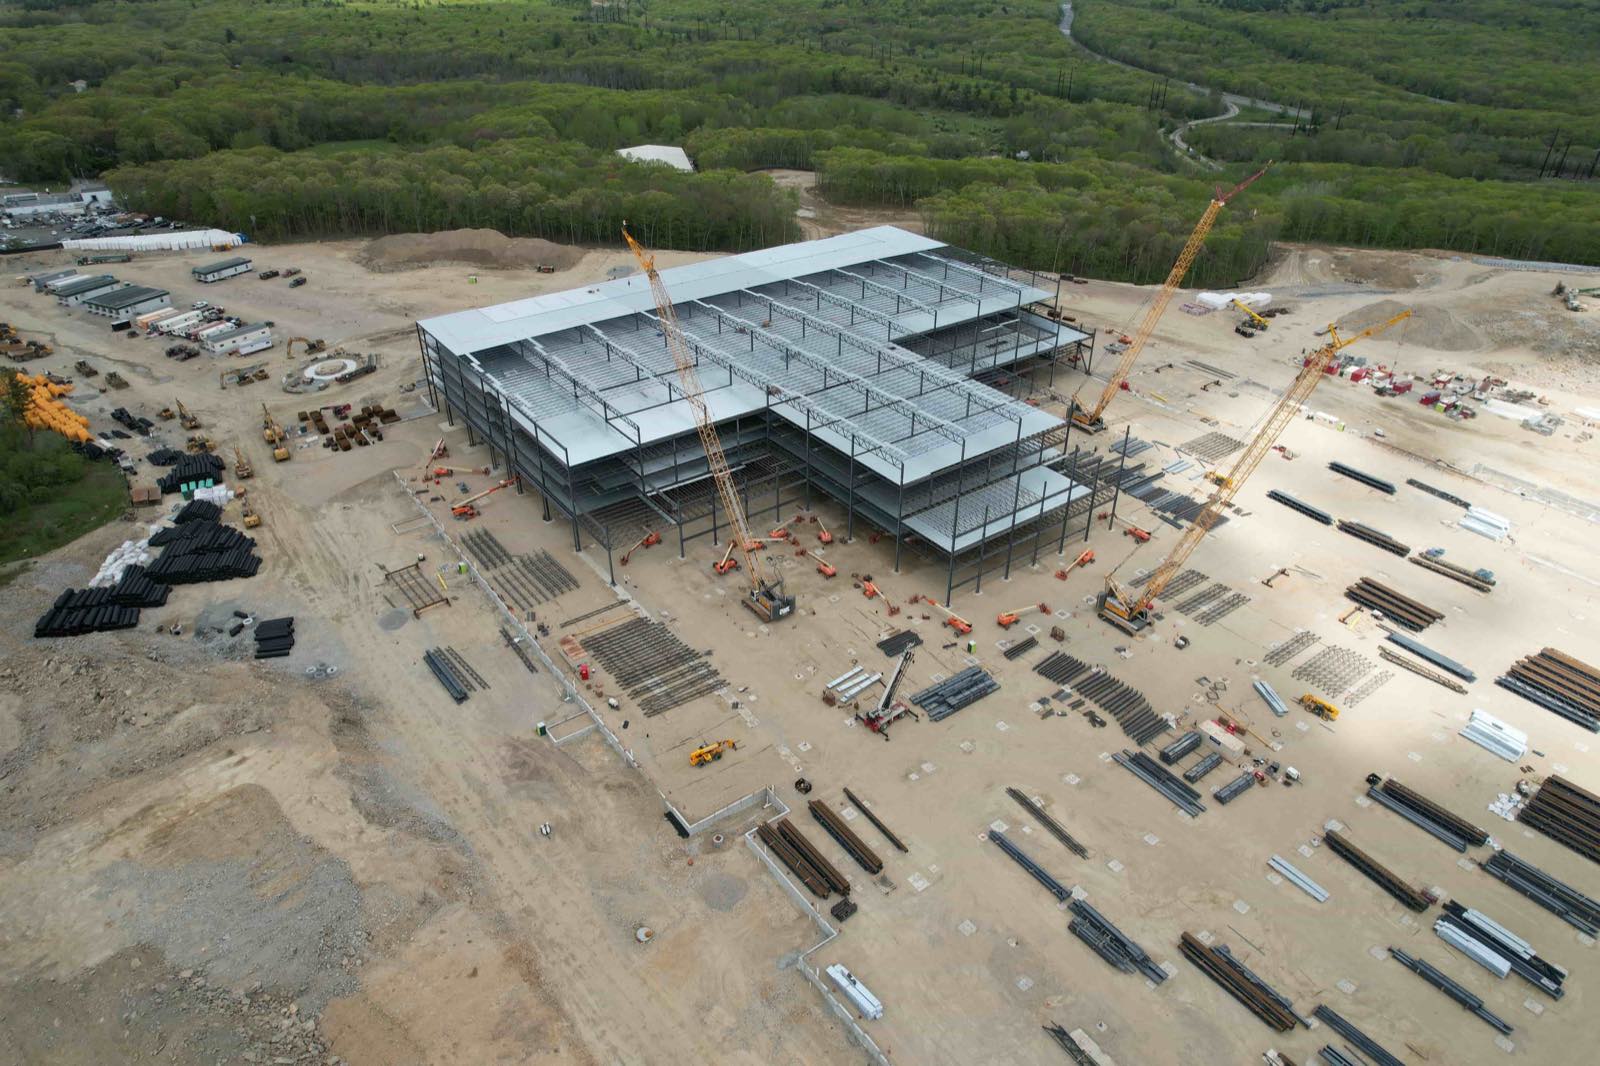
Set the drone to fly a programmed mission in the field. Most flight apps let you define the area, overlap, and altitude, then execute the grid autonomously. While the drone flies, monitor the image preview on the controller. Look for any sudden changes in exposure or focus that could break the model. If the terrain is uneven, consider a terrain-following mode so the altitude stays relative to the ground rather than sea level.
What to watch: moving objects such as cars, people, or animals can create ghost artifacts in the model. If possible, schedule the flight when the site is empty. Also, avoid flying over reflective surfaces like water or shiny roofs because they confuse the matching algorithm. If you must include such areas, add more overlap or capture oblique images from the side.
Process the Photos into a Point Cloud
Once you have the images, the next step is photogrammetry software. The software reads each image, identifies common points (tie points), and calculates their 3D position by triangulating across overlapping photos. The output is a sparse point cloud, which is a set of x,y,z coordinates representing the visible surfaces. This is the raw material for the 3D model.
What to watch: the software needs enough overlap to find tie points. If the flight was too sparse, the software may fail to align images or produce gaps. In that case, you can add manual tie points by clicking on the same feature in two or more images. It is painstaking work, so it is better to get the overlap right in the field.
Generate the Dense Point Cloud and Mesh
From the sparse point cloud, the software runs a dense matching algorithm. It compares every pixel in every image to find matches, producing a dense point cloud with millions of points. This dense cloud is then used to create a mesh - a surface made of triangles that approximates the real terrain and structures. The mesh can be exported as a standard 3D file format such as OBJ, PLY, or LAS.
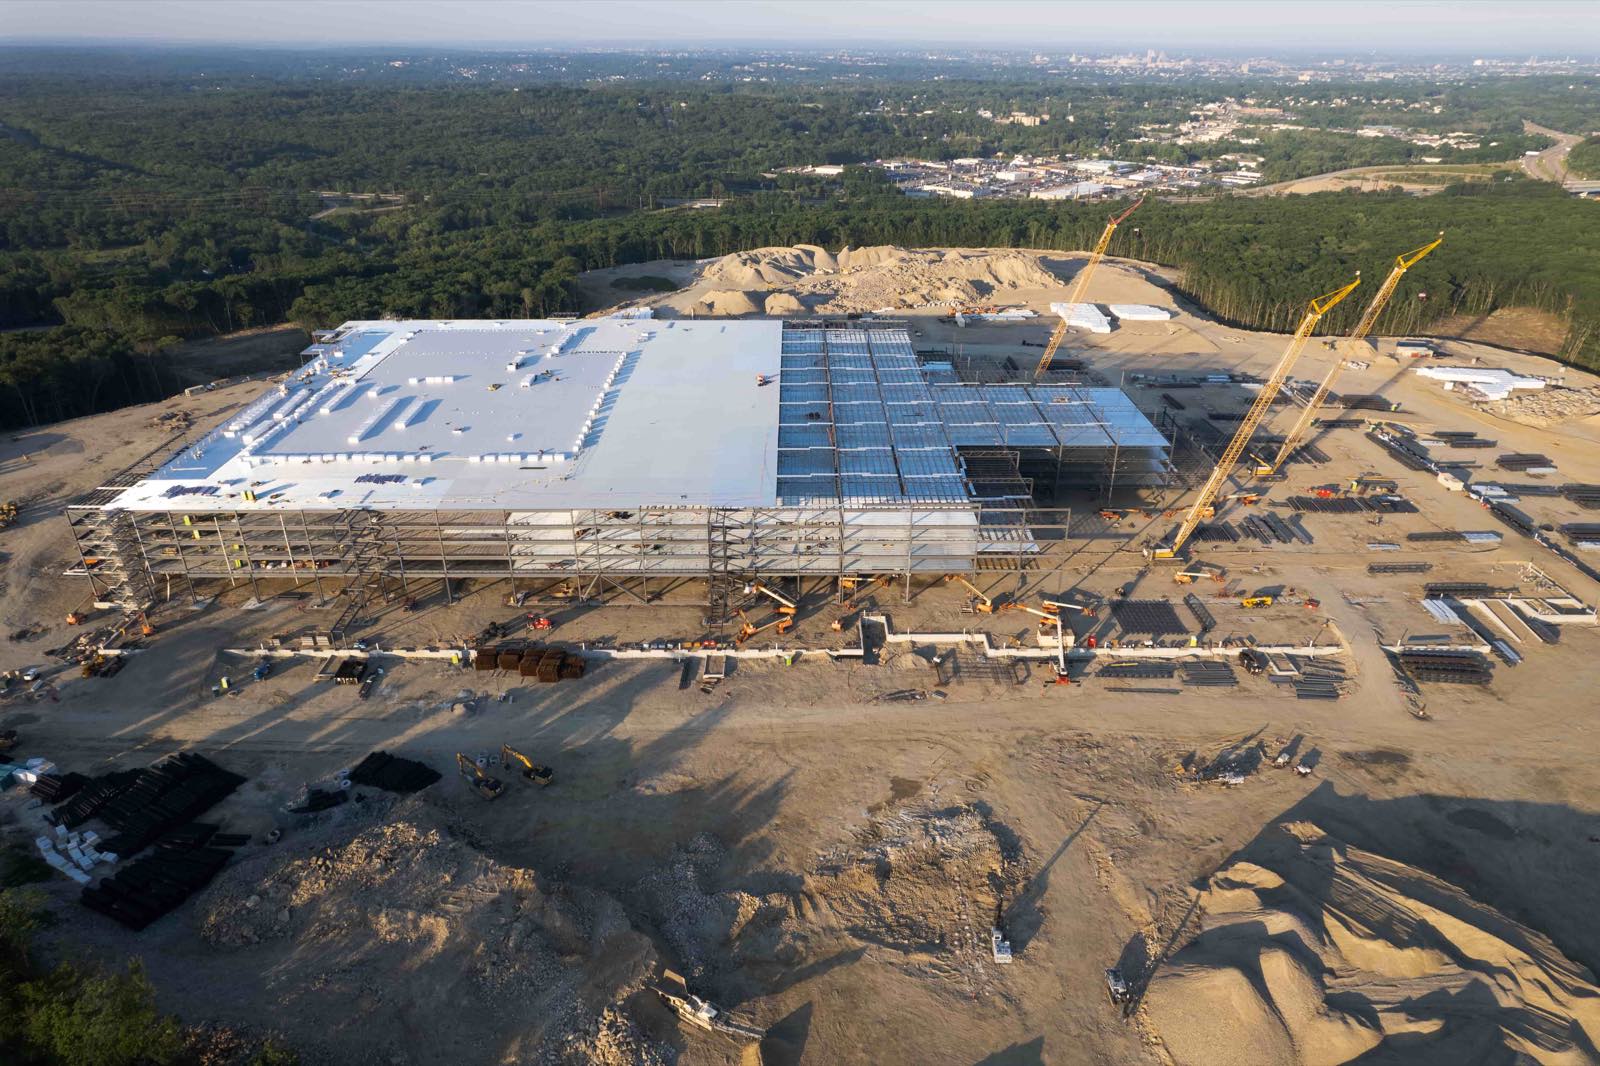
What to watch: dense matching is computationally heavy. A typical site with a few hundred images can take hours on a standard laptop. For large sites, consider using a cloud processing service. Also, check the mesh for holes or spikes. Holes often appear where the camera could not see the surface, such as under dense trees. Spikes are usually caused by moving objects or reflections. You can edit them out in the software, but it is easier to avoid them during capture.
Georeference the Model
For the 3D model to be useful as a site map, it needs real-world coordinates. This is done by adding ground control points (GCPs) - survey points with known coordinates that are visible in the images. The software uses GCPs to scale, rotate, and shift the model so it aligns with the real world. Without GCPs, the model is only relative: you can measure distances within it, but you cannot place it on a map.
What to watch: GCPs must be evenly distributed around the site, not all in one corner. A good practice is to place at least five points for a small site and more for larger ones. Also, use a survey-grade GPS to get the coordinates, not the drone's built-in GPS, which is less accurate. If you cannot survey GCPs, you can use a known benchmark or a publicly available coordinate from a mapping service, but the accuracy will be lower.
Export and Share the Model
Once the model is georeferenced, export it in a format suited to your purpose. For sharing with clients or colleagues, a lightweight format like .obj or .glb works well for web viewers. For engineering or surveying work, you may need a .las or .laz point cloud file that can be opened in CAD or GIS software. Many platforms also allow you to upload the model directly to a cloud service for viewing and measurement without requiring special software on the viewer's side.
What to watch: file sizes can be huge. A dense point cloud with millions of points can be tens or hundreds of megabytes. Consider decimating the cloud (removing points that are very close together) to reduce file size while keeping the important geometry. Also, check that the coordinate system is embedded in the file so that anyone opening it knows where the model sits on Earth.
Common Challenges and How to Work Around Them
Even with careful planning, things can go wrong. Here are a few frequent issues and what to do about them:
- Poor lighting: flat, overcast light is actually best for photogrammetry because it eliminates harsh shadows. If you must fly in bright sun, fly at midday when shadows are shortest.
- Vegetation: trees and grass move in the wind, so the software sees different shapes in successive frames. Fly on a calm day and accept that dense foliage will not be perfectly reconstructed.
- Large uniform surfaces: a flat field of grass or a concrete apron has few distinctive features for the software to match. Place artificial markers or survey targets on the ground before the flight.
If you are managing multiple sites or need to process images at scale, a service such as National Drone Services can handle the capture and processing for you. Their platform is designed for uploading, processing, organizing, and sharing drone aerial data, which simplifies the entire workflow from flight to final model. For those who prefer to do it themselves, understanding the steps above will help you get reliable results.
Putting It All Together
A 3D site model from drone photos is a powerful tool for site planning, volume calculations, and visual documentation. The key is to invest time in the flight planning and capture phase. Overlap, lighting, and camera settings are the variables you can control, and they have the biggest impact on model quality. Processing software has become very capable, but it cannot fix poor input. Once you have a good set of images, the software can produce a model that is accurate enough for most construction, environmental, or surveying uses.
For a turnkey solution, you can work with a provider like National Drone Services. They offer nationwide capture and a platform that supports the full data lifecycle, so you do not have to manage every step yourself. The platform at nationaldroneservices.net lets you upload, process, visualize, measure, and share your models, making it easier to get value from your drone data without investing in your own software and expertise.
Whether you do it yourself or outsource it, the workflow is the same: plan, capture, process, georeference, and export. Each step has its own traps, but with a methodical approach you can produce a 3D site model that is accurate, shareable, and useful for decision-making.
National Drone Services on social media
 Facebook